How to Remove Unwanted Color Cast in Real Estate Photos: Kelvin & Masking SOP
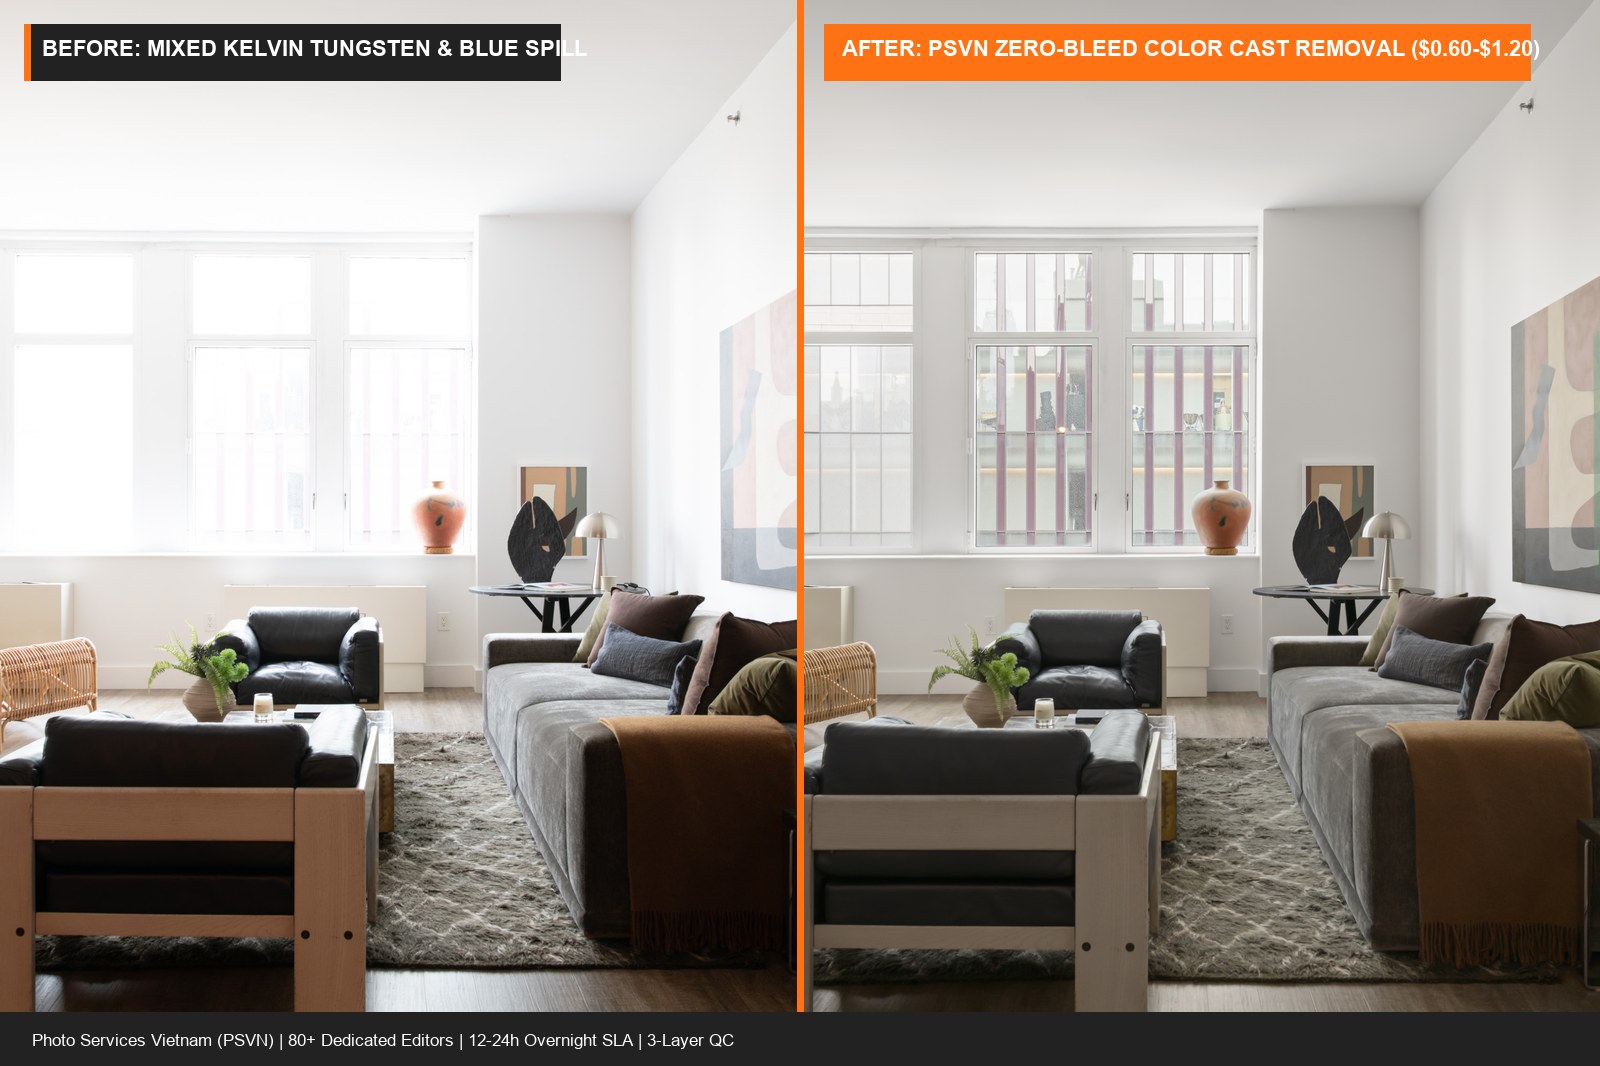
Mastering how to remove unwanted color cast in real estate photos is the single most important technical skill separating amateur HDR batch processing from magazine-grade architectural photography. When an interior room mixes 2700K warm tungsten chandeliers, 4000K kitchen recessed LEDs, 6500K blue window daylight, and green lawn reflections bouncing onto white ceilings, a single global white balance slider in Lightroom will never fix the frame. At Photo Services Vietnam (PSVN), our 80+ editors eliminate mixed-lighting color casts across every tier of our real estate photo editing services—from Basic ($0.60 USD) and Standard Flambient ($1.20 USD) to dedicated Twilight Color-Cast Removal ($1.80 USD / A$2.70 AUD / £1.45 GBP)—delivered overnight in 12 hours.
By Khanh Tran & PSVN Post-Production QC Team · Updated November 4, 2026
Why Mixed Kelvin Lighting Creates Unwanted Color Casts in Property Photos
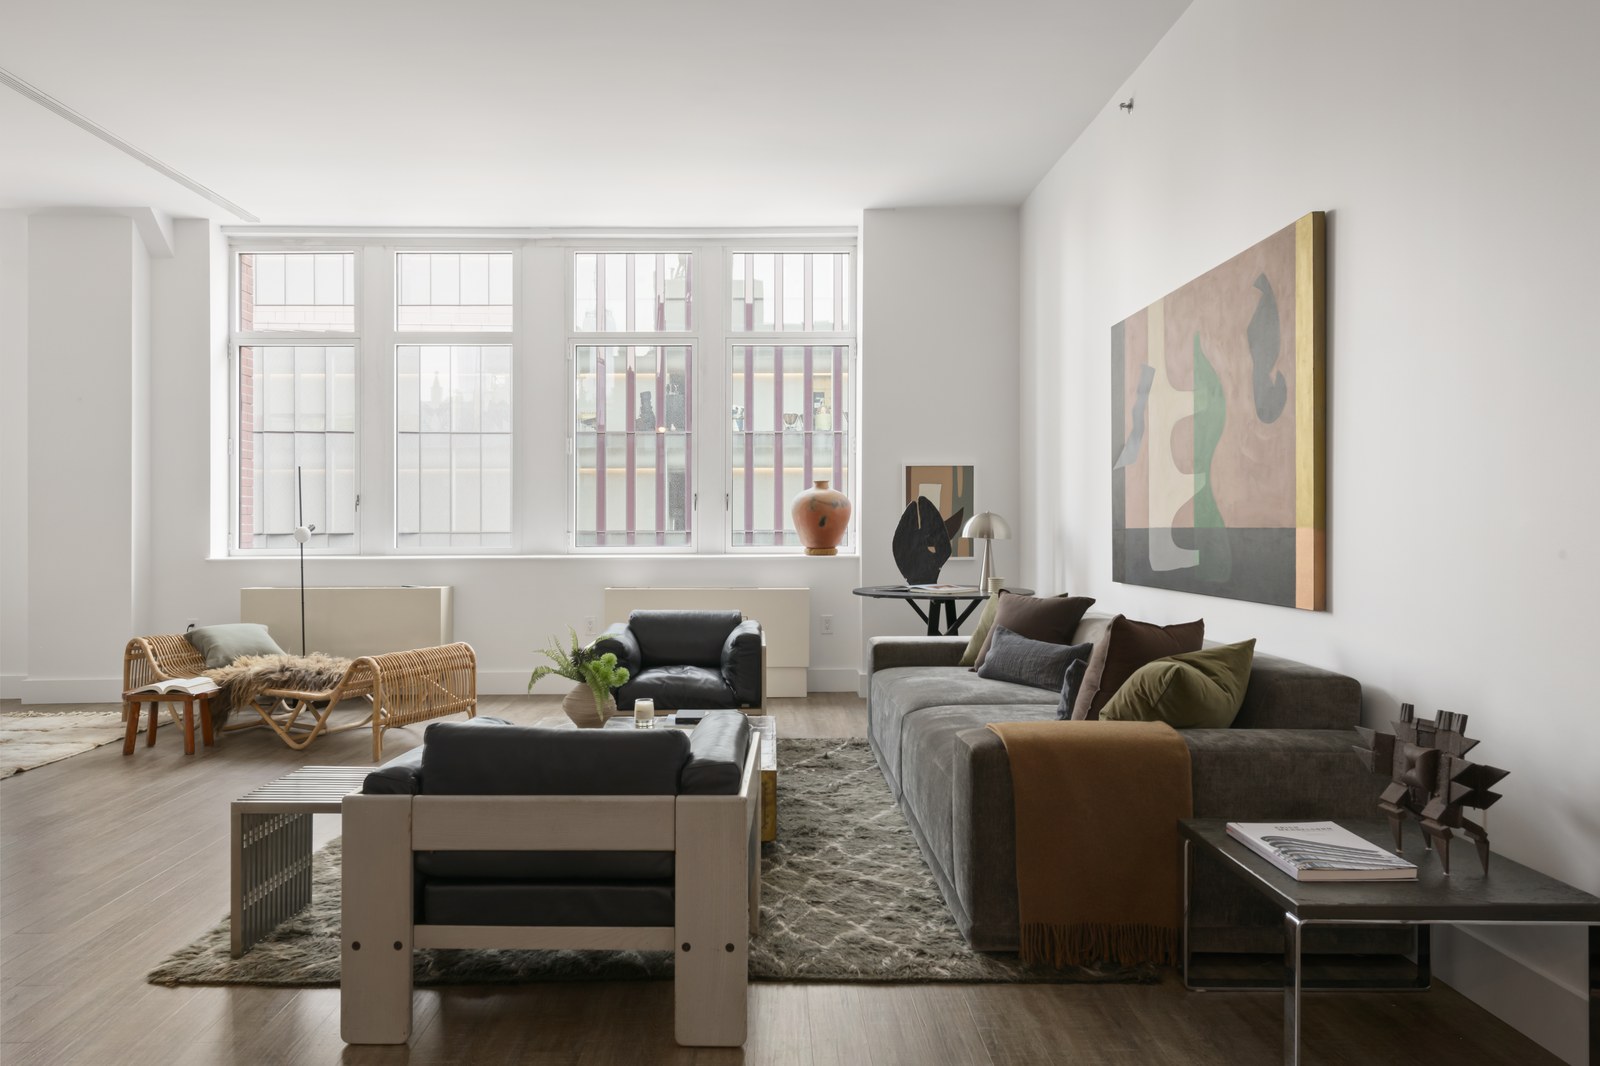
Unlike studio portrait photography where the photographer controls 100% of the light sources, residential real estate interiors contain up to four competing color temperatures (Kelvin) simultaneously:
- Warm Tungsten & Incandescent Bulbs (
2500K–3000K): Chandeliers, bedside lamps, and under-cabinet strips cast a heavy orange-yellow glow across adjacent walls, white quartz countertops, and ceiling drywall. - Cool Daylight & Overcast Sky Spill (
6000K–8000K): Large windows act as giant blue softboxes, painting hardwood floors, bed linens, and glossy floor tiles closest to the window with a cyan-blue tint. - Green Foliage Bounce (
Exterior Trees & Lawns): Sunlight reflecting off dense backyard lawns or trees shoots through glass doors and tints white ceiling soffits and window trim an unnatural lime green. - Hardwood Floor Color Bounce: Shooting a bounce flash off a ceiling above cherry, mahogany, or warm oak flooring reflects red-orange light back down onto white cabinetry and trim.
Step-by-Step SOP: How to Remove Unwanted Color Cast in Real Estate Photos
In our production pods and our real estate image blending services guide, PSVN editors follow a five-step non-destructive Photoshop workflow to neutralize color casts without making rooms look sterile or desaturated:
Step 1: Calibrate Base RAW White Balance to Mid-Room Neutral (4800K–5100K)
Before opening layers in Photoshop, sync your raw ambient brackets and flash frame in Adobe Camera Raw / Lightroom. Sample a neutral gray or white wall surface in the middle of the room (away from direct window spill or lamp bulbs) so overall wood tones and furniture fabrics sit at their natural baseline.
Step 2: Apply the Color Blend Mode Flash Layer (Flambient Technique)
If you captured a clean 5500K off-camera flash frame (with interior lights turned OFF or overpowered by the strobe), stack the flash exposure above your blended ambient base in Photoshop and set its blend mode to Color (at 60%–85% opacity):
* The Color blend mode replaces the orange tungsten and blue window hues with the clean 5500K color data of your flash while preserving the natural shadows and highlights (Luminosity) of the ambient exposure.
Step 3: Isolate & Desaturate White Ceilings (Zero Ceiling Bleed)
White ceilings should read as clean neutral white (RGB 240–248 with Saturation < 4%), except for a subtle, natural warm halo immediately surrounding active light fixtures:
1. Create a precise polygon/pen-tool selection along the ceiling crown molding line—after aligning verticals using our vertical line correction and lens distortion guide.
2. Add a Hue/Saturation adjustment layer clipped to the ceiling mask and reduce Yellows (-55 to -75), Reds (-30), and Cyans/Blues (-60).
3. Use a soft 15% black brush over chandelier globes and recessed can lights so the bulbs themselves retain a natural warm glow rather than turning dead gray.
Step 4: Neutralize Blue Window Spill on Hardwood Floors & Rugs
When blue daylight washes across brown oak or walnut floors near sliding glass doors, desaturating blue globally will also ruin the exterior sky view. Instead:
* Create a targeted floor mask, add a Selective Color or Color Balance adjustment layer set to Cyans & Blues, and shift Cyan toward Red (+15 to +25) and Blue toward Yellow (+20 to +35) while reducing Blue saturation by -40%.
Step 5: Correct Stainless Steel & White Kitchen Cabinetry
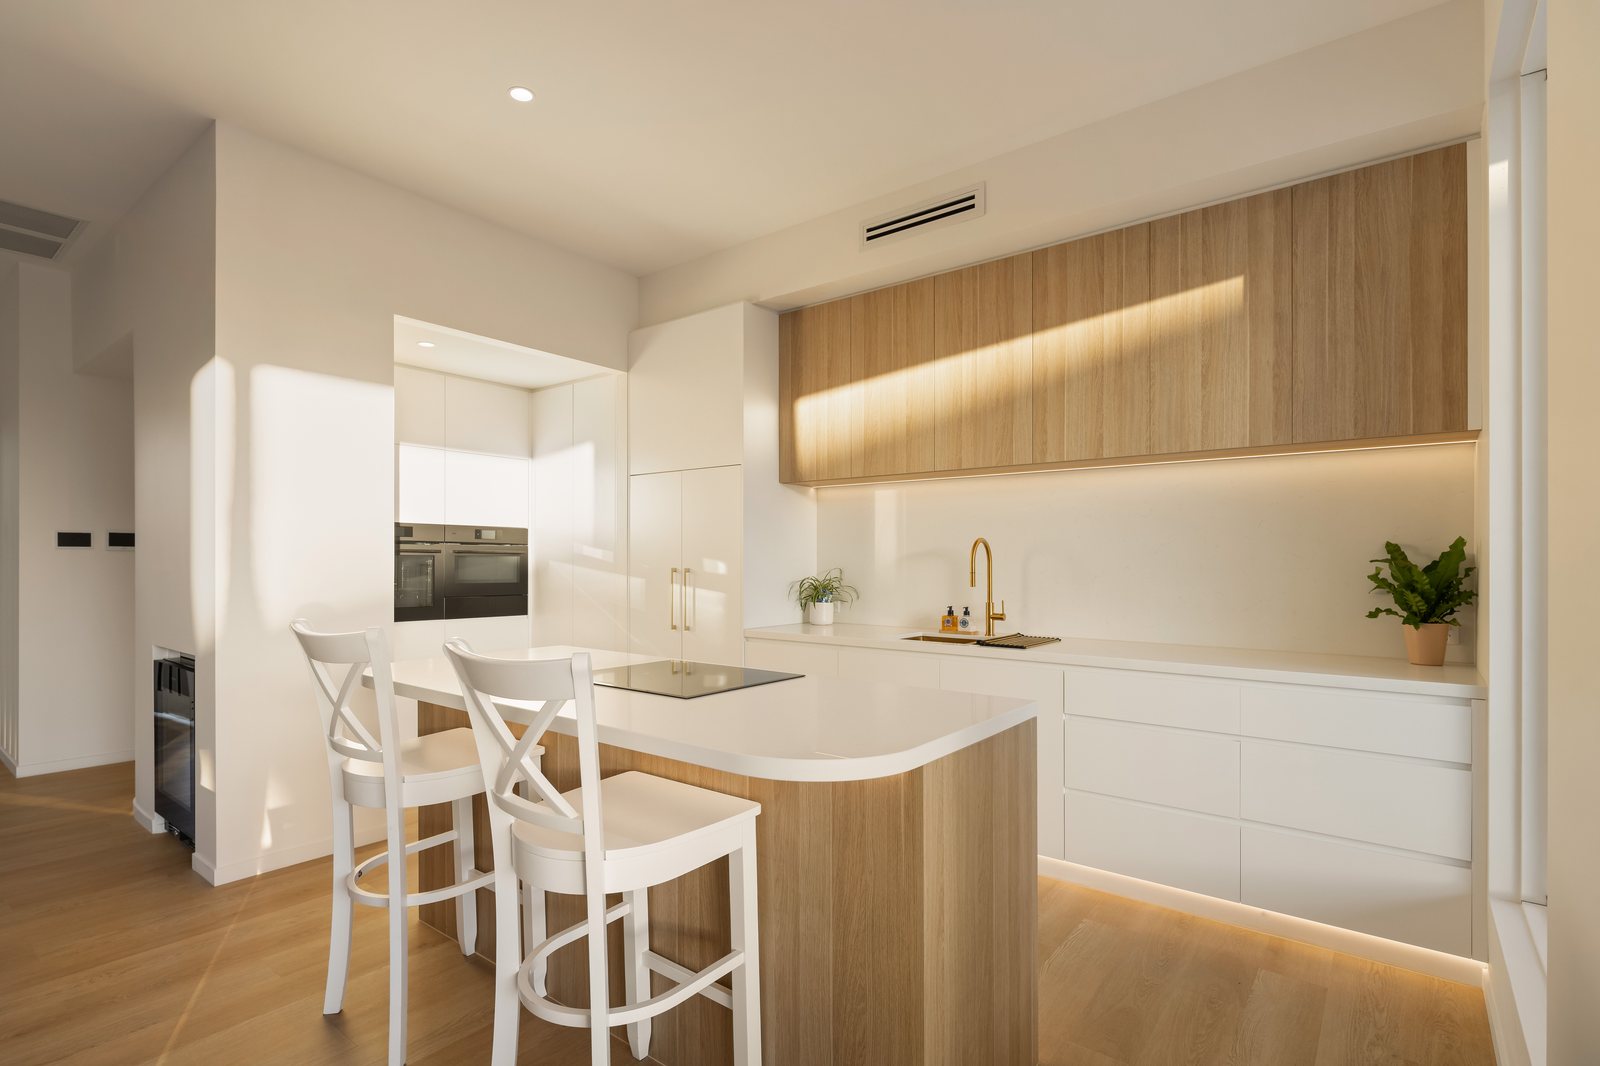
Kitchens and bathrooms are the most color-sensitive rooms in any home. Our editors apply separate masks for stainless steel appliances (desaturating 70%–80% to remove yellow room reflections) and painted white/gray shaker cabinets so buyers see the true paint swatch.
Official B2B Pricing: Color Cast Removal & Photo Editing Tiers
Below is PSVN’s official rate card from seo/facts.yaml for real estate photo editing and color-cast neutralization:
| PSVN Photo Editing Tier | Color-Cast & Lighting Complexity | Technical Retouching Included | Official Rate (USD / AUD / GBP) | Turnaround SLA |
|---|---|---|---|---|
| Basic Photo Editing | Standard daylight interiors (3–5 HDR brackets) | Global white balance calibration, exposure merge, vertical alignment & sky swap | $0.60 USD / image (A$0.90 AUD · £0.50 GBP) | 12 Hours |
| Standard HDR & Flambient | Mixed lighting with ambient + flash brackets | Full manual Photoshop blending, Color mode flash neutralization, ceiling mask & window pulls | $1.20 USD / image (A$1.80 AUD · £0.95 GBP) | 12 Hours |
| Twilight Color-Cast Removal | Natural sunset brackets & extreme warm/cool spill | Deep multi-zone Kelvin separation, removing heavy orange/blue dusk casts & glowing window pulls | $1.80 USD / image (A$2.70 AUD · £1.45 GBP) | 12 Hours |
| Advance Photo Editing | Glossy hardwood glare, dark cabinetry & multi-strobe | Specular flash glare removal, wood-bounce neutralization & cord cleanup | $3.00 USD / image (A$4.50 AUD · £2.40 GBP) | 12 Hours |
| Architectural Retouching | Designer portfolios & commercial properties | Pixel-level color accuracy matched to Pantone/paint swatches & multi-flash compositing | $4.00 USD / image (A$6.00 AUD · £3.20 GBP) | 12–24 Hours |
For complete property marketing packages, studios also pair color-accurate interior photography with our Matterport and iGuide virtual tour floor plan editing and color cast removal and white balance guide.
Frequently Asked Questions
Should I shoot with interior lights ON or OFF to avoid color casts?
For the cleanest color accuracy, shoot your ambient brackets with interior lights ON (to capture warm fixture glow) and shoot one flash frame with interior lights OFF (or overpowered by your strobe). Our editors blend the clean flash color onto the walls and ceilings while masking back the warm lamp glow from the ambient frame.
How much does professional color cast removal cost at PSVN?
Standard ceiling and room color-cast removal is included in our Standard HDR & Flambient tier at $1.20 USD per photo (A$1.80 AUD · £0.95 GBP), while extreme dusk/mixed-Kelvin rescue is $1.80 USD per photo under our Twilight Color-Cast Removal tier.
Can you remove color casts from single-exposure or HDR-only brackets without flash?
Yes. Even if you shoot HDR brackets without flash, our editors manually mask ceilings, walls, cabinetry, and floors on separate Hue/Saturation and Color Balance layers to eliminate yellow tungsten and blue window casts.
How can I test PSVN’s color cast removal on my toughest mixed-lighting photos?
Upload your raw brackets on our Start Free Trial page (3 free RAW bracketed photo sets + 1 unedited video plus 10% off your first month) and let our dedicated Pod demonstrate zero-bleed color accuracy in 12 hours.
Related Editorial Guides
View All 74 Guides