Panorama Shot Real Estate Photo Editing: 360 Virtual Tour Stitching & HDR Guide
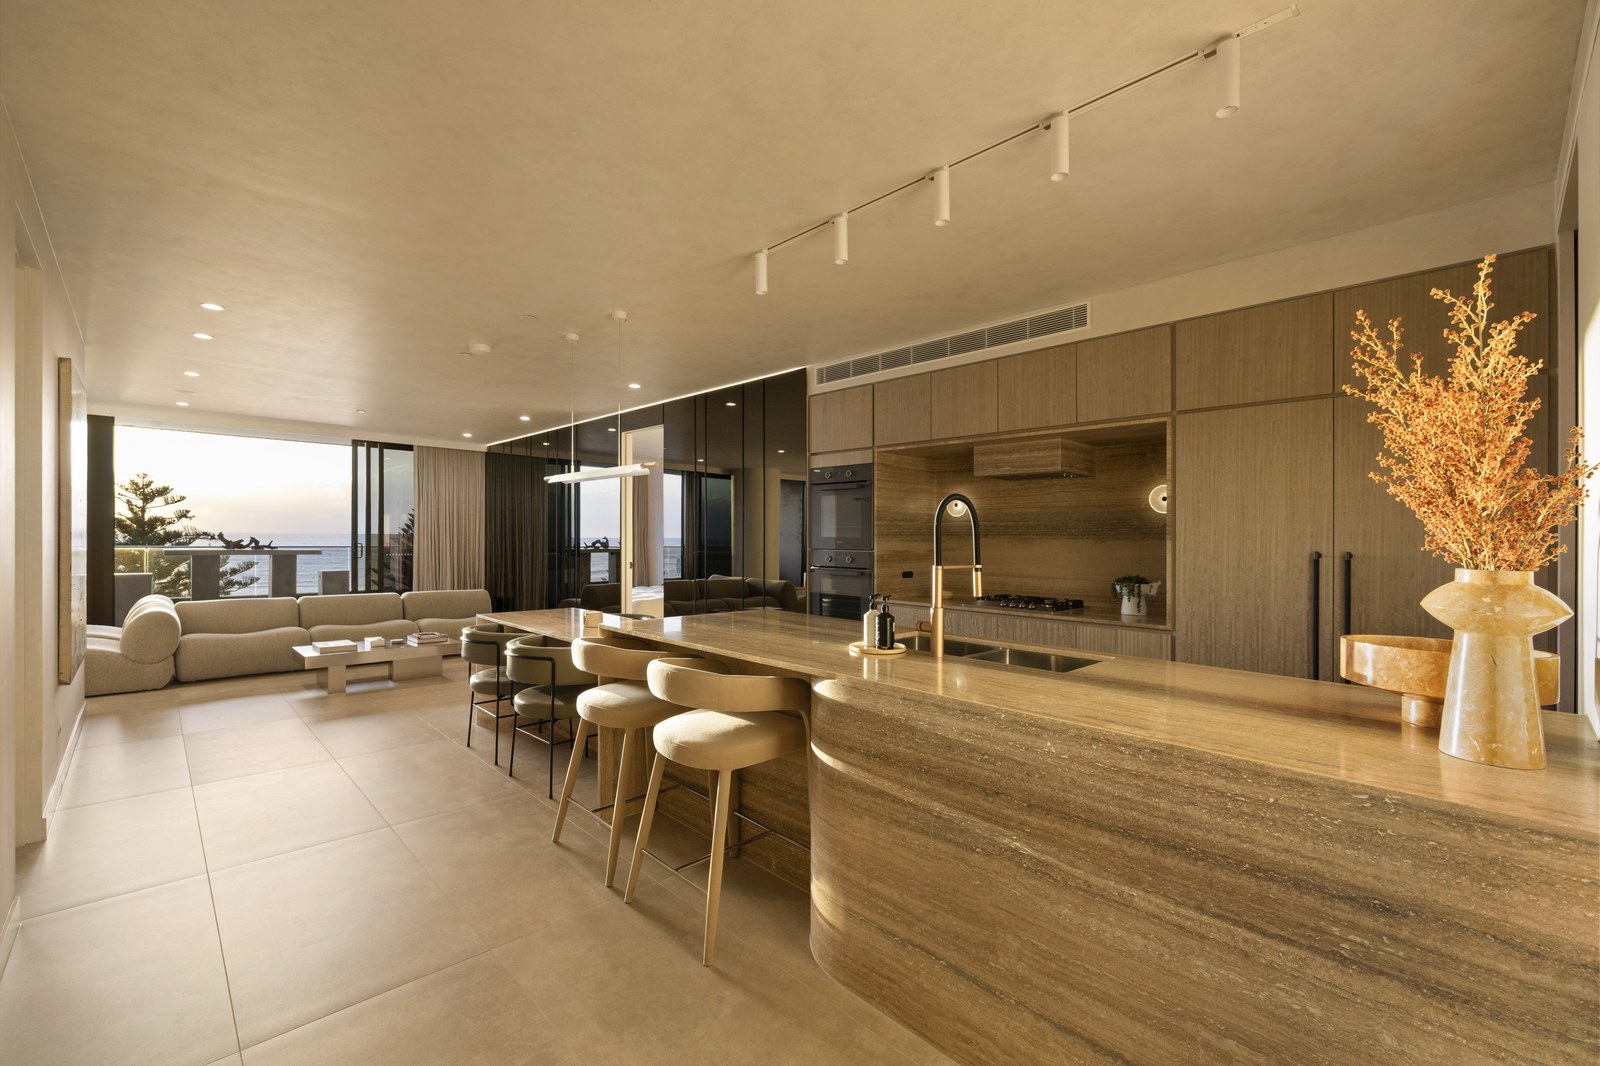
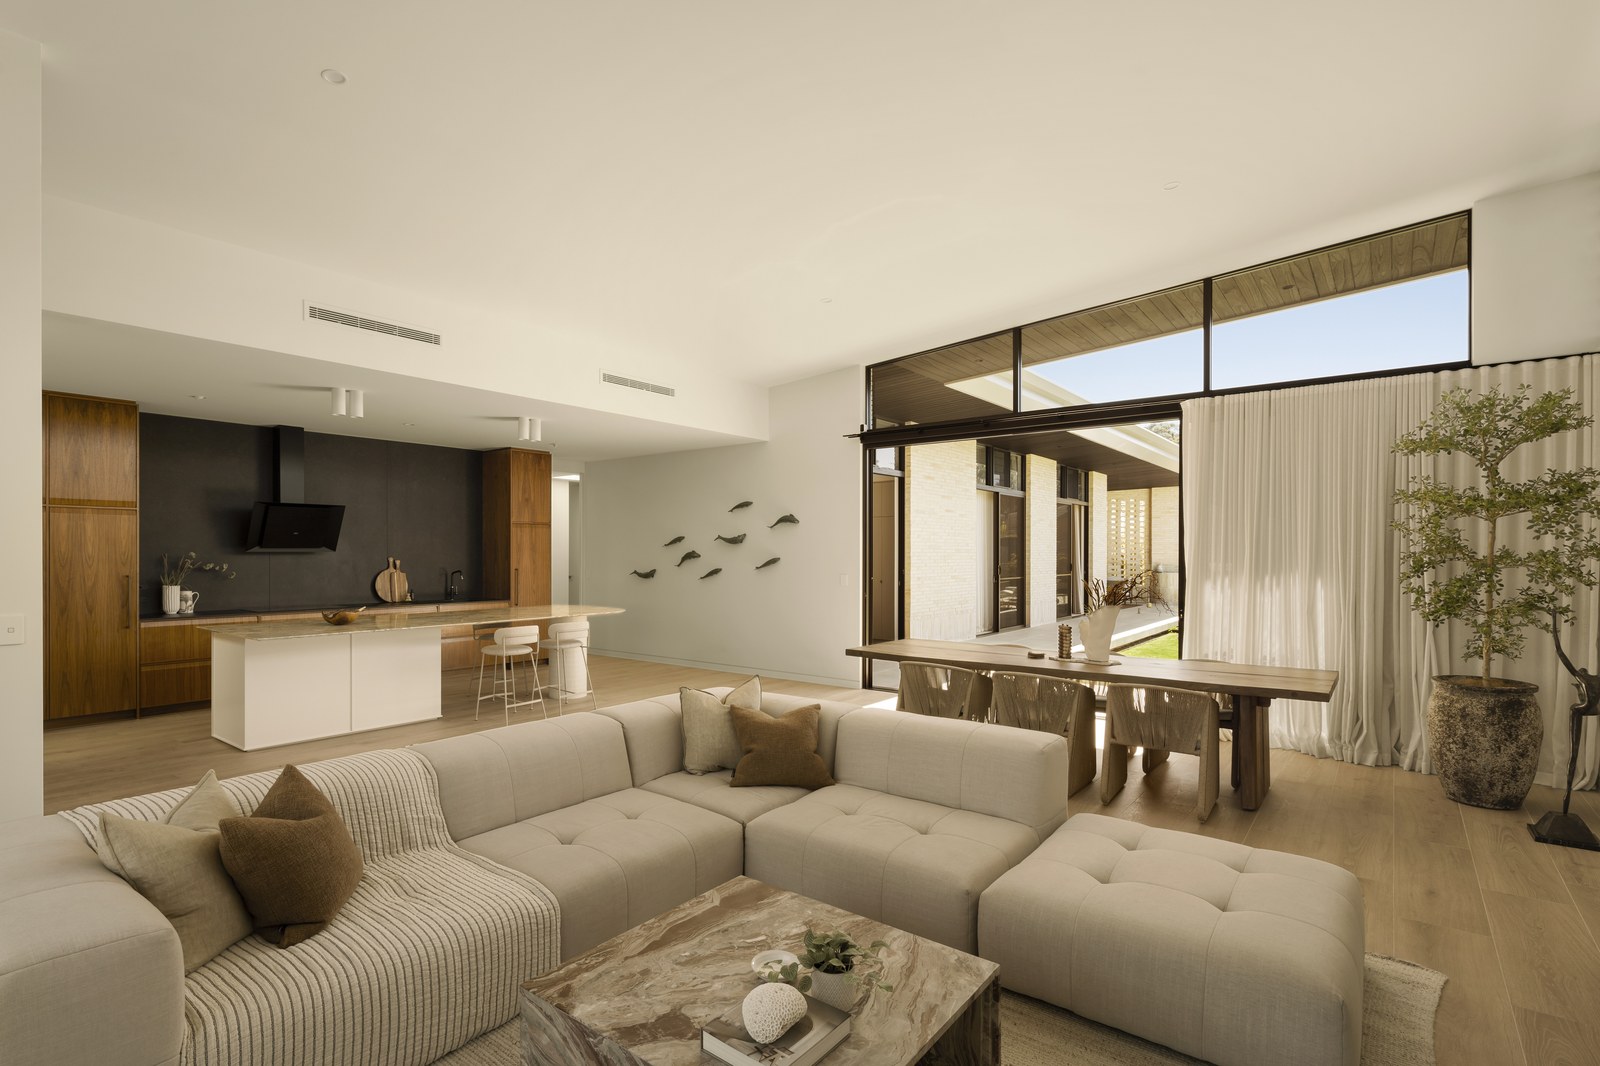
Precision panorama shot real estate photo editing transforms multi-angle fisheye brackets or dual-lens 360-degree captures into a seamless 2:1 equirectangular virtual tour image with balanced window exposures, zero parallax seam errors, and a clean nadir floor patch. Whether your studio shoots with a dedicated 360 camera (Ricoh Theta Z1, Insta360 One RS 1-Inch) or a DSLR/mirrorless nodal pano head, professional 360° virtual tour panorama stitching costs $3.00 to $8.00 USD per panorama (A$4.50–A$12.00 AUD · £2.40–£6.40 GBP) with a 12 to 24-hour overnight turnaround SLA.
By Khanh Tran & PSVN Post-Production QC Team · Updated November 3, 2026
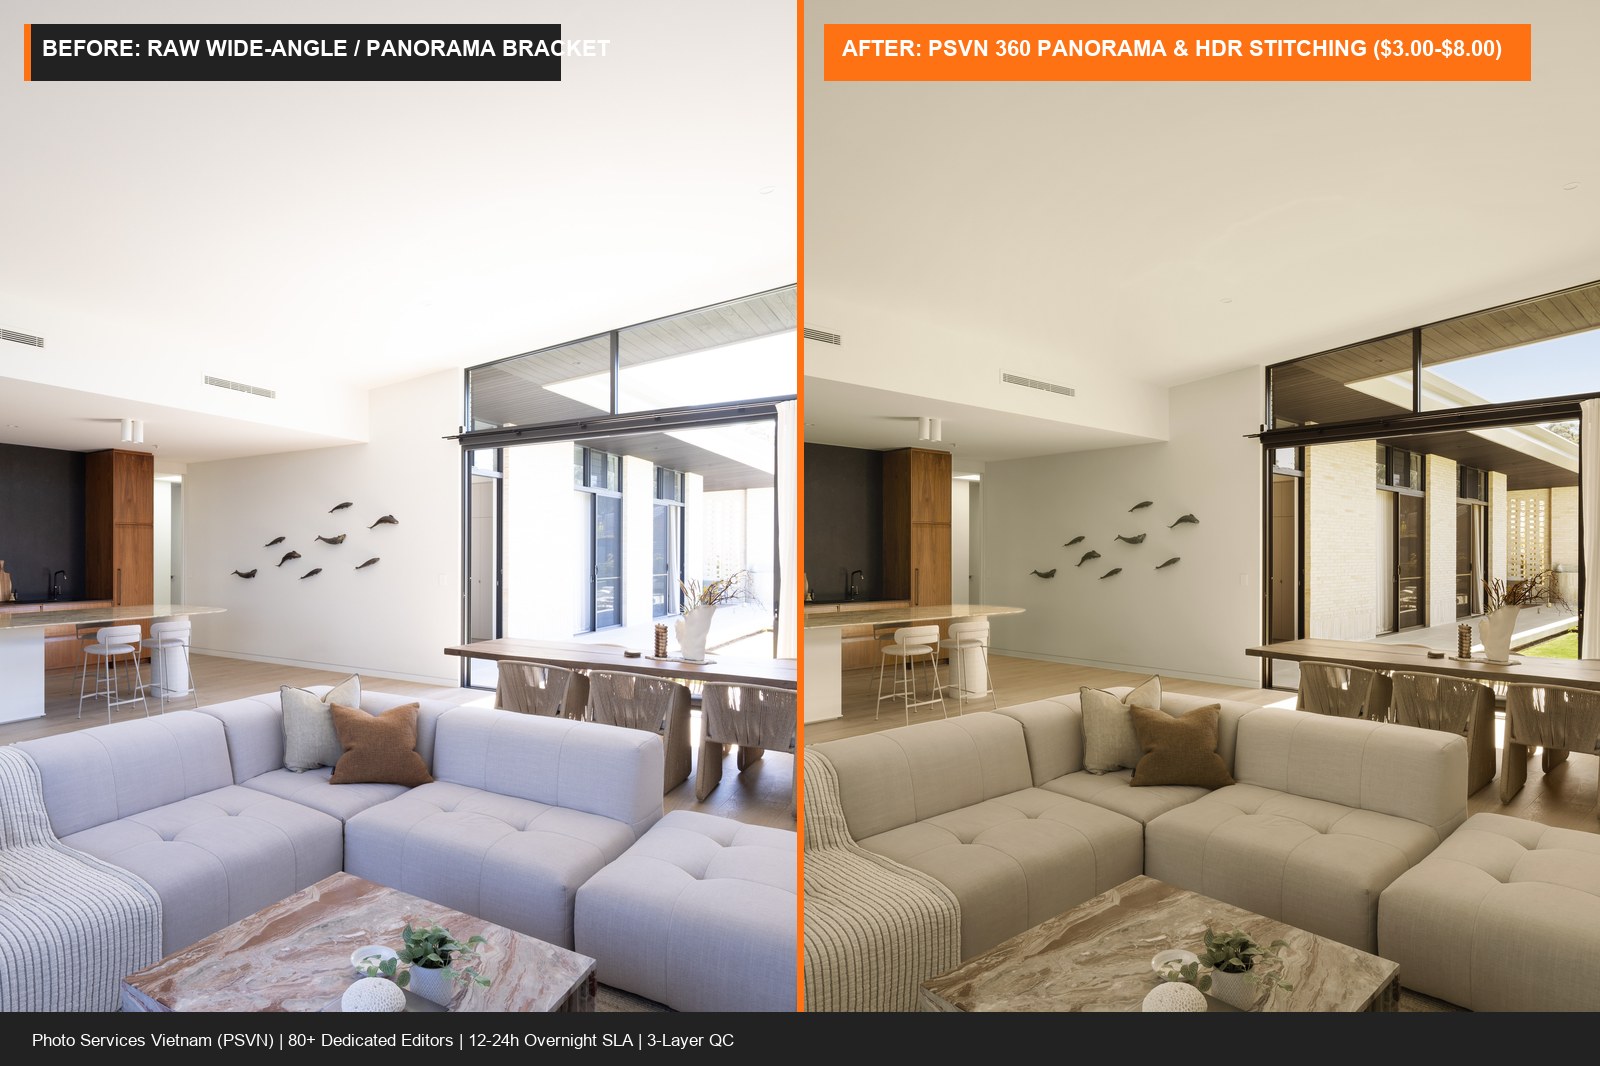
Why Panorama Shot Real Estate Photo Editing Requires Manual Retouching
Out-of-camera 360° panoramas suffer from four distinct optical and sensor limitations that immediately lower the perceived value of a luxury property listing:
- Extreme Dynamic Range Clipping (
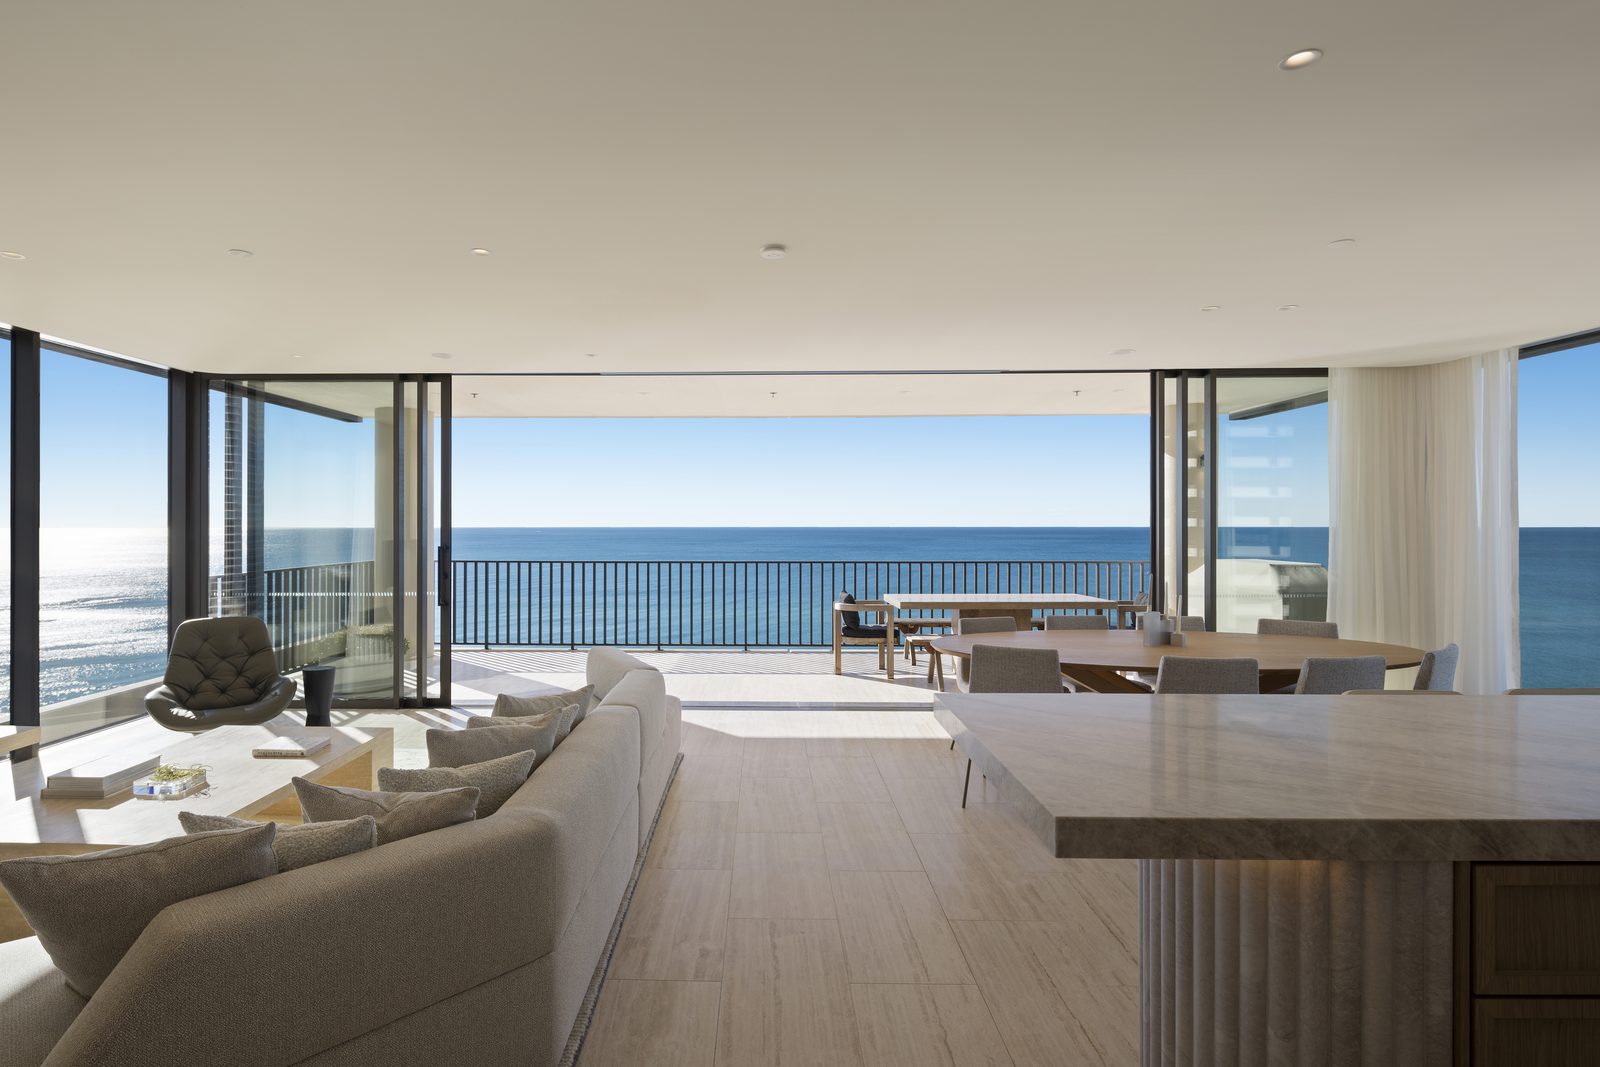
360°Window Blowouts): Because a 360-degree panorama captures the entire room at once, it inevitably looks directly into bright exterior windows on one side and deep interior hallway shadows on the opposite side. Single-exposure 360 JPEGs either blow out every window into solid white glare or crush the interior furniture into muddy noise. - Visible Nadir Tripod Footprint & Monopod Shadows: Every 360 shot leaves the tripod legs, nodal head base, or monopod shadow directly at the nadir (
-90°straight down) and frequently casts a long shadow across hardwood floors or tile grout lines. - Parallax Seam Ghosting on Tile, Cabinetry & Ceiling Beams: When stitching 2 to 6 fisheye angles in PTGui or camera firmware, slight offsets between the lens entrance pupil (nodal point) and nearby kitchen island corners produce broken grout lines, doubled cabinet handles, or jagged ceiling crown molding.
- Mixed Color Casts Across Dual Lenses: Dual-fisheye cameras (
Ricoh Theta Z1,Insta360) often measure auto white balance independently per hemisphere, resulting in a warm orange tint on one half of the stitch seam and a cool blue tint on the other half.
PSVN’s 6-Step Technical Workflow for 360 Panorama Shot Editing
When you outsource your virtual tour post-production alongside your core real estate photo editing services, PSVN routes your 360 brackets to our specialized Panorama & Virtual Tour Pod. Here is our exact 6-step production pipeline:
Step 1: Raw Bracket Development & Chromatic Aberration Removal
Ultra-wide fisheye lenses produce heavy purple and green lateral chromatic aberration along high-contrast window mullions and chandelier crystals. Before stitching, our editors process the raw DNG, CR3, or NEF brackets in Adobe Camera Raw—removing chromatic fringing, recovering highlight detail, and synchronizing white balance across all exposure brackets (-2 EV, 0 EV, +2 EV).
Step 2: Manual HDR Window Pulls in Equirectangular Space
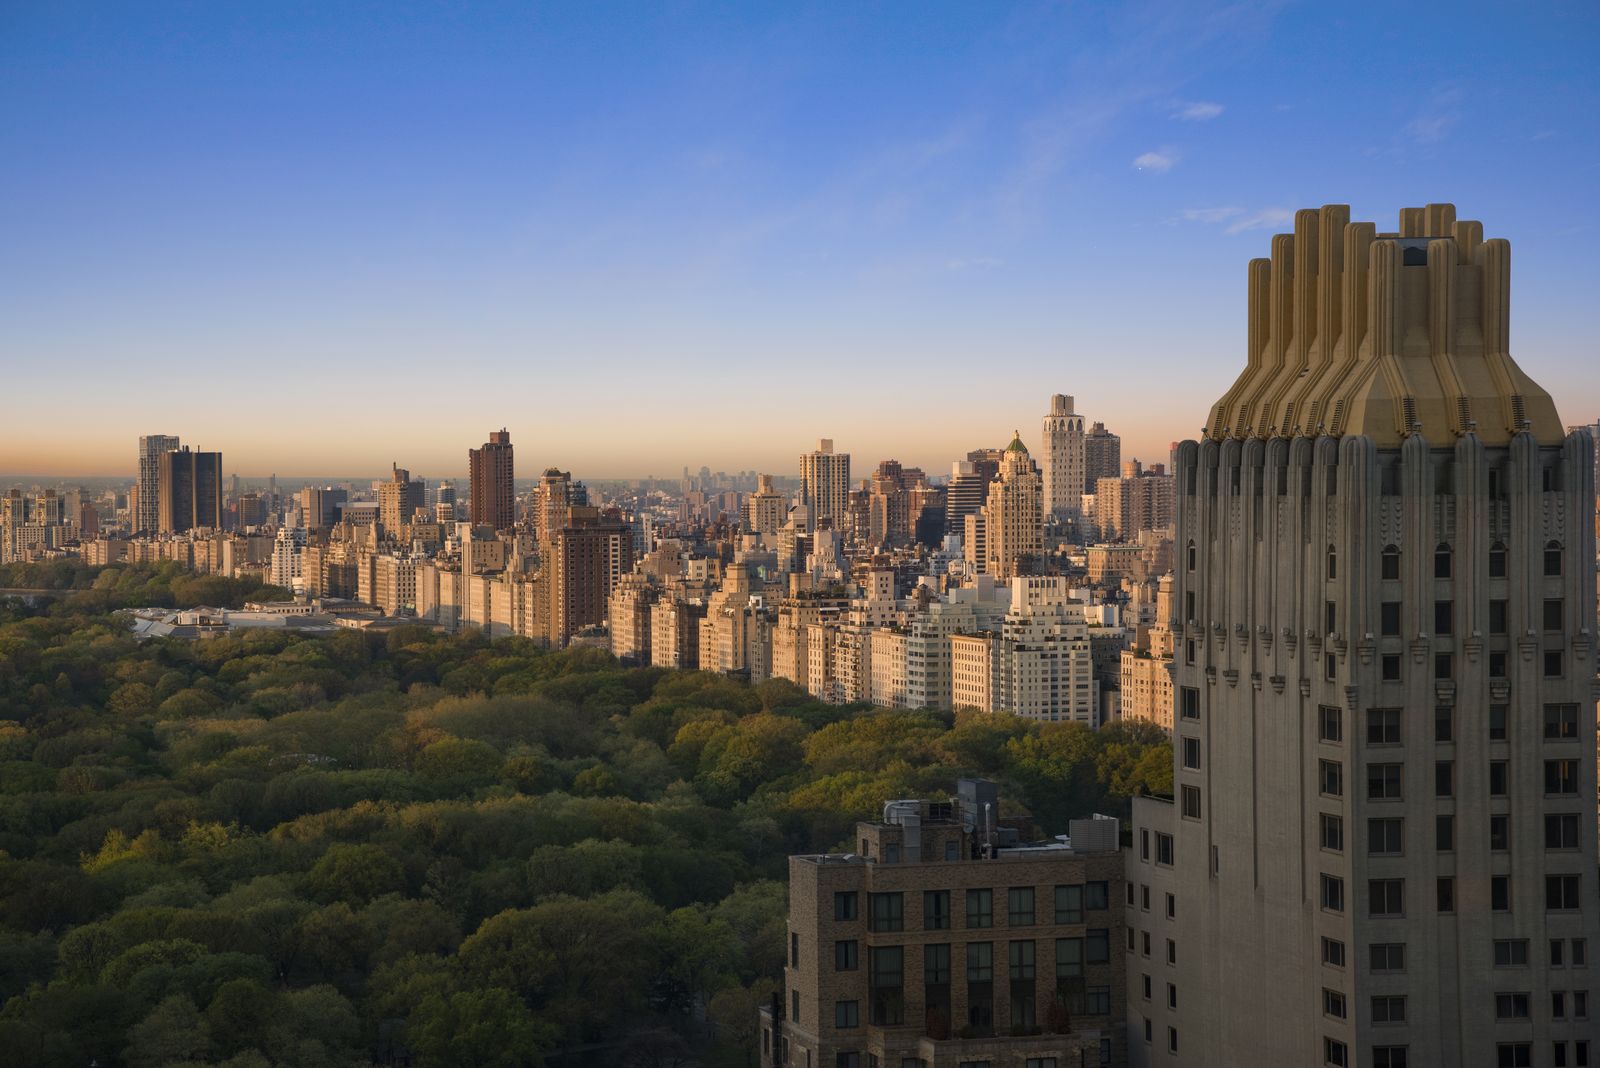
Rather than relying on flat automated tone mapping that makes 360 tours look grey and washed out, our editors hand-blend the darker ambient exposures specifically over window openings. This restores clear views of the backyard pool, patio, or skyline while maintaining natural interior contrast.
Step 3: PTGui Pro Control-Point Alignment & Zero-Seam Stitching
For multi-shot DSLR/mirrorless panoramas (4 around + zenith + nadir or 6 around), we align control points in PTGui Pro using viewpoint optimization. Any parallax shifts on floor tiles, brick walls, or ceiling beams are manually masked across overlapping source frames so architectural lines flow seamlessly across all 360° × 180°.
Step 4: Seamless Nadir Tripod Removal (Floor Texture Reconstruction)
Instead of slapping a giant circular company logo over the floor to hide the tripod, PSVN editors project the nadir (-90° down view) into a rectilinear workspace, reconstruct the exact hardwood grain, Persian rug pattern, or marble tile grout lines using frequency-separation clone work, and re-project the clean floor back into the 2:1 equirectangular file.
Step 5: Horizon Leveling (Pitch & Roll = 0.0°)
If a 360 camera is tilted by even 1.5° on a monopod, walking through the virtual tour makes walls appear to lean and causes viewer motion sickness. We calibrate vertical guide lines across four opposing walls in every panorama node so the horizon sits perfectly level and all door frames stand plumb.
Step 6: Mirror Reflection & Clutter Cleanup
Because there is nowhere for the photographer or remote trigger to hide in a 360° capture, we remove photographer reflections from bathroom mirrors, glass shower enclosures, oven doors, and polished appliances. For occupied homes that require removing moving boxes, cords, or personal items across multiple tour nodes, studios pair 360 stitching with items removal and decluttering ($1.00–$14.00 USD).
Official B2B Pricing: 360 Panorama Shot & Virtual Tour Editing
Below is PSVN’s official rate card from seo/facts.yaml for 360° panorama stitching, HDR blending, and virtual tour enhancement:
| 360 Panorama Service Tier | Technical Scope Included | USD Price | AUD Price | GBP Price | Turnaround SLA |
|---|---|---|---|---|---|
| Single-Exposure 360 Enhancement | Pre-stitched 2:1 equirectangular JPEG/DNG, color cast correction, horizon leveling, mirror cleanup, seamless nadir tripod removal | $3.00 / panorama | A$4.50 / panorama | £2.40 / panorama | 12–24 Hours |
HDR Dual-Lens 360 Blending (Ricoh Theta Z1 / Insta360) | 3-to-5 bracket DNG stitching, manual HDR window pulls, ceiling color neutralization, nadir tripod reconstruction, mirror cleanup | $5.00 / panorama | A$7.50 / panorama | £4.00 / panorama | 12–24 Hours |
Multi-Row DSLR/Mirrorless Nodal Stitching (PTGui Pro) | Full multi-angle (4–8 shots × 3–5 brackets) raw stitching, parallax seam repair, window masking, sky replacement on exterior nodes, nadir reconstruction | $8.00 / panorama | A$12.00 / panorama | £6.40 / panorama | 12–24 Hours |
For complete property marketing packages, most media agencies bundle 360° virtual tours with 2D and 3D floor plan redraws ($6.00–$23.00 USD/plan) so buyers can navigate the tour directly from an interactive floor plan hotspot map. You can also explore our deep-dive 360 virtual tour panorama stitching guide for camera-specific capture settings.
Frequently Asked Questions
What file resolution and aspect ratio do you deliver for 360 panoramas?
We deliver industry-standard 2:1 equirectangular JPEGs or 16-bit TIFFs (such as 6720 × 3360 px for Ricoh Theta Z1 or 12000 × 6000 px for DSLR/mirrorless nodal rigs) with intact GPano XMP metadata so your files upload directly into Kuula, CloudPano, Matterport, Ricoh360, Zillow 3D Home, and Realtor.com without projection errors.
Can you remove the tripod without putting a logo patch on the floor?
Yes. Our standard workflow reconstructs the actual floor texture (hardwood planks, carpet weave, tile grout, or outdoor pavers) across the nadir so looking straight down shows a completely natural, uninterrupted floor. If your studio prefers a custom branded nadir logo cap, we can apply that to your Custom Style Profile instead.
How much does 360 virtual tour stitching cost per property?
Individual 360 panorama stitching costs $3.00 to $8.00 USD per panorama (A$4.50–A$12.00 AUD · £2.40–£6.40 GBP) depending on whether you shoot pre-stitched single exposures, bracketed dual-fisheye DNGs, or multi-angle DSLR nodal brackets, while standard interior real estate photo editing services start at $0.60 to $1.20 USD per photo.
How can my studio test your 360 panorama stitching and HDR quality?
You can start your free trial today at zero cost (3 free RAW bracketed sets + 1 video plus 10% off your first month). Send us your raw 360 brackets or interior HDR sets, and our team will return the fully stitched, color-graded, and nadir-cleaned files within 12 to 24 hours.
Related Editorial Guides
View All 70 Guides